Hybrid Inverter Setup: The Essential Guide to Getting It Right the First Time

Getting your hybrid inverter setup wrong can cost you thousands in damaged equipment and lost energy savings. The installation process involves multiple technical decisions that will affect your system’s performance for years to come.
I’ve created this guide to walk you through every critical step of your hybrid solar inverter setup. Proper configuration is essential, especially when integrating batteries, grid connections, and solar panels into one cohesive system. Many installers rush through the process, due to time constraints, only to face expensive troubleshooting later.
In this guide, we’ll cover:
- Understanding your hybrid solar inverter components
- Step-by-step installation procedures
- Optimal configuration settings
- System optimization techniques
Understanding Your Hybrid Solar Inverter Before Setup
A hybrid solar inverter operates differently from traditional grid-tied or standalone units. Beyond converting DC to AC, it manages three energy sources simultaneously: solar panels, battery storage, and the utility grid. This unified approach eliminates the need for separate charge controllers or relay systems.
The device routes solar output based on real-time conditions. During peak generation, it powers your appliances directly, stores surplus in batteries, or sends excess to the grid. When sunlight diminishes, it switches to battery reserves or grid power without interruption. Units like the SOONEST MY Series and SF Series integrate these connections into one streamlined enclosure, simplifying wiring and deployment.
MPPT technology forms the core of efficient energy capture. These controllers adjust voltage and amperage to extract maximum output from your solar array. MPPT configurations produce 20-30% more energy than basic PWM variants during variable lighting conditions. Soonest hybrid inverters feature expansive MPPT voltage ranges, accommodating different array configurations and panel series lengths.
Pure sine wave output protects sensitive electronics. The AC power generated matches utility-grade standards, reducing interference and heat buildup in motors, computers, and delicate circuitry. Built-in safeguards include overload protection, short-circuit prevention, battery reverse connection protection, and over-temperature shutdown. Remote monitoring through RS485 and WiFi protocols allows you to track generation levels, battery status, and diagnostic alerts without physical access to the unit.
Step-by-Step Hybrid Inverter Setup Process
Safety comes before anything else in your hybrid inverter setup. Turn off all power sources connected to solar panels, batteries, and grid systems before starting work.
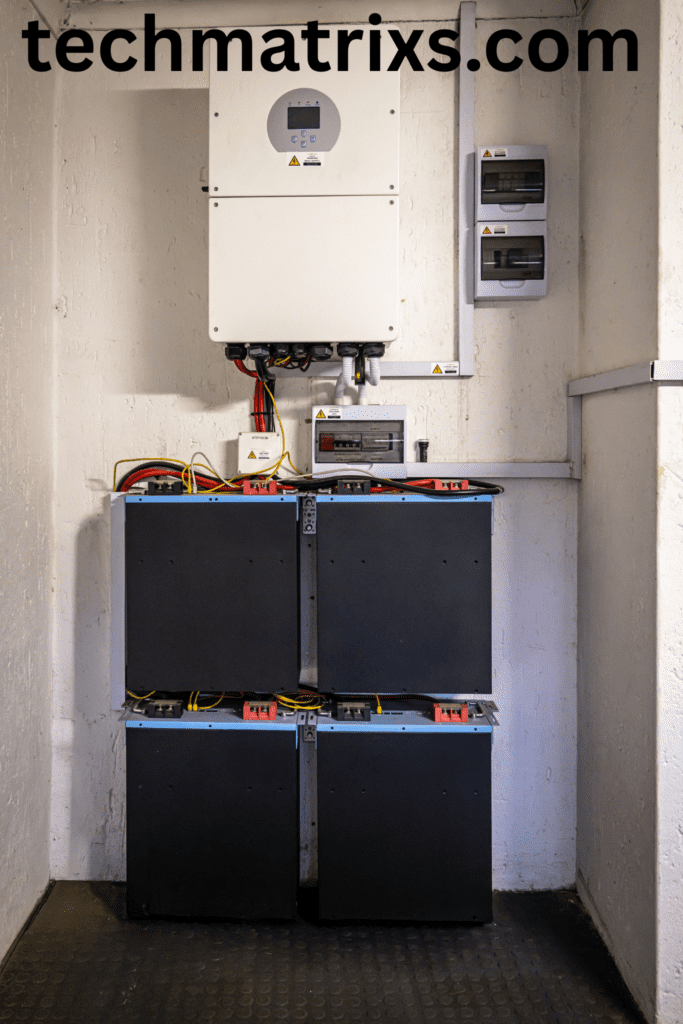
Select your mounting location with care. The inverter needs a dry, shaded, well-ventilated spot with at least 30cm clearance from walls. Avoid direct sunlight, moisture-prone areas, and locations near flammable materials. The wall must support more than four times the inverter’s weight. Mount the unit between 0.5 and 2 meters above ground level for easy access to displays and maintenance ports.
Mark drilling positions using the inverter’s mounting holes as a template. Use an impact drill with a bit two sizes smaller than your expansion screws. After drilling, tap the screws flush with the wall surface, hang the inverter, and tighten the mounting nuts securely.
Connection order matters significantly. Battery terminals connect first, allowing the inverter to detect system voltage automatically. Next, wire the solar panel DC inputs, maintaining correct polarity throughout. Connect the AC output cables to your electrical distribution panel, followed by the grid connection through the designated port. Complete all connections by establishing proper grounding from the inverter’s earth terminal to a verified ground point.
Close circuit breakers sequentially: battery first, then solar, and finally AC circuits. The inverter screen should illuminate, confirming successful power-up.
To Read more Aritcles this type Click Here
Configuration Settings and System Optimization
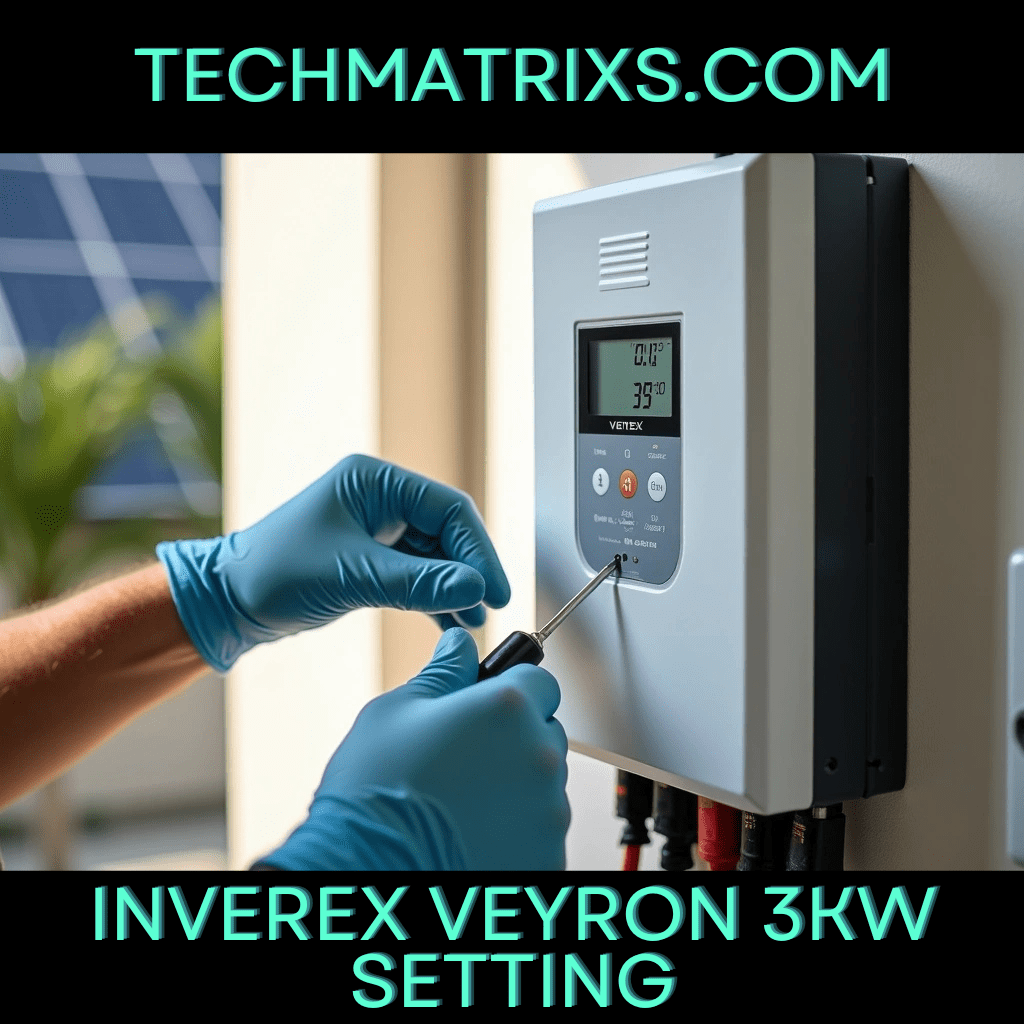
Once the inverter powers up successfully, access the configuration interface through the LCD touchscreen or connected monitoring app. System time requires immediate attention, as incorrect clock settings will prevent scheduled charge windows from executing properly. Set your location data, date, and time zone before proceeding to battery parameters.
Battery configuration determines charging behavior and longevity. Select your battery chemistry from the menu, lithium-ion for most modern installations. Input the exact capacity in amp-hours, then configure charge and discharge current limits according to manufacturer specifications. Voltage setpoints vary by chemistry; for LiFePO4 systems, absorption voltage typically ranges from 14.2V to 14.6V per 12V module, with float voltage between 13.4V and 13.8V.
Priority settings control energy flow hierarchy. The Solar-Battery-Utility (SBU) configuration works best for maximizing solar usage. This mode directs solar output to loads first, stores surplus in batteries, then draws from grid only when battery state of charge drops below your set threshold. Set the low battery cutoff between 20-25% SOC to protect cell health while maintaining adequate reserve capacity.
Time-of-use programming reduces electricity costs significantly. Program charge windows during off-peak rate periods, enabling grid charging only when rates drop. Configure discharge schedules to prioritize stored energy during expensive peak hours.
Conclusion
Your hybrid inverter setup will determine system performance for the next decade or more. By following these installation steps and configuration guidelines, you’ll avoid the costly mistakes that plague rushed installations. Take your time with each connection sequence, battery parameter, and priority setting. When configured correctly, your system should deliver optimal energy savings within the first billing cycle. The upfront attention to detail pays dividends through reliable operation and maximum solar utilization.
To Read more Aritcles this type Click Here