
Solar Inverter
How to Configure Your Solar Inverter Manual
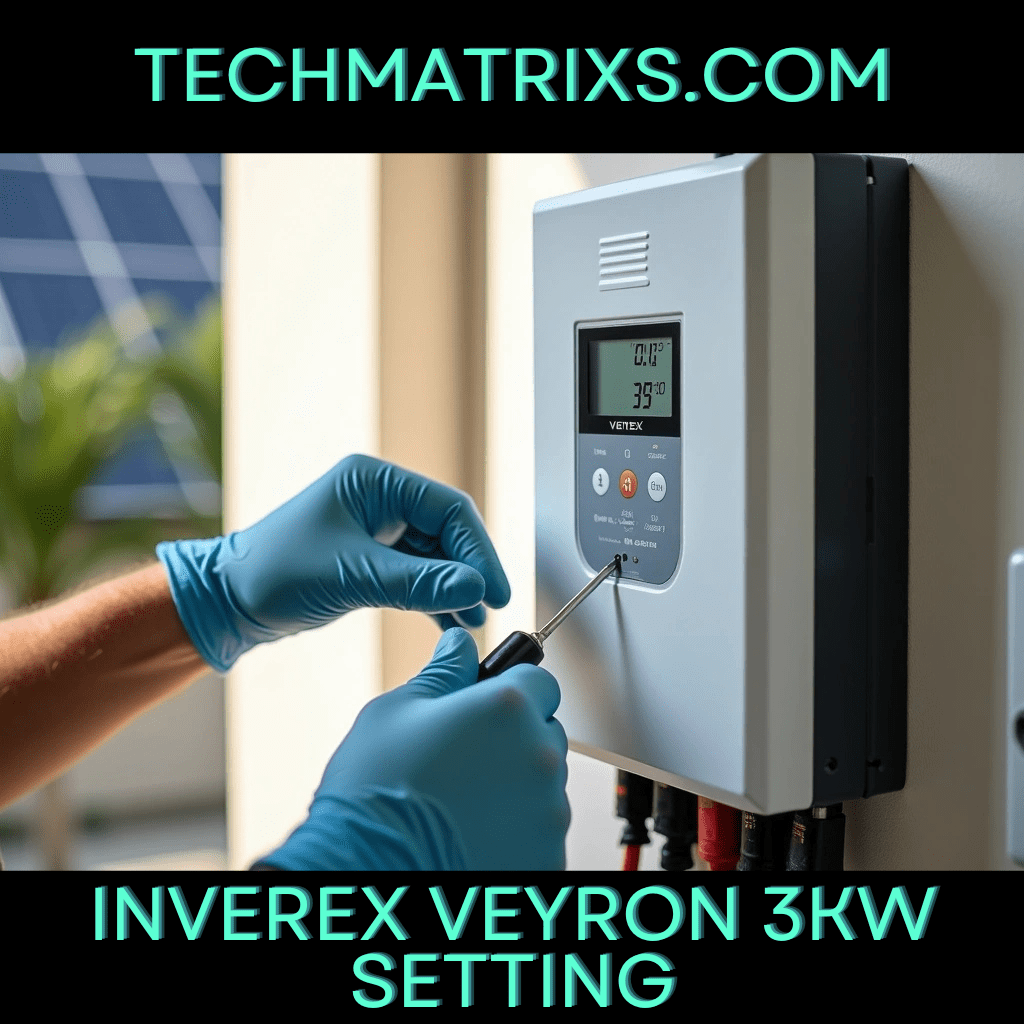
How to Configure Your Solar Inverter Manual: Inverex Veyron 3kW Setup Guide
Would you like me to generate a step-by-step programming guide for this inverter, or do you need a list of the error codes?

Your solar inverter manual sits in front of you, filled with technical terms and settings that seem impossible to navigate. Sound familiar?
Setting up a solar inverter correctly is crucial for optimal performance, particularly when dealing with multi-function units that combine inverter, solar charger, and battery charger capabilities. Whether you’re working with an eco worthy 5000w solar hybrid inverter manual or configuring the Inverex Veyron 3kW system, understanding the configuration process can feel overwhelming.
We’ve created this comprehensive guide to walk you through every step of configuring your Inverex Veyron 3kW inverter. From physical installation to LCD display settings, we’ll help you master your system’s configuration with confidence.
Understanding Your Inverex Veyron 3kW System
The Inverex Veyron II 3.2KW represents a multi-function inverter that merges three critical components into one unit: inverter, solar charger, and battery charger. This integration offers uninterruptible power support without requiring separate equipment for each function.
- Your system delivers a rated output of 3200W with pure sine wave voltage. The built-in MPPT solar charger handles up to 4000 Watts with an 80 Amp capacity, accepting PV input ranging from 120-450 VDC. This wide input range provides flexibility in solar panel configuration.
- What sets this inverter apart is its ability to work without batteries, running directly on solar power. The system automatically synchronizes with Inverex lithium batteries when connected and includes communication ports through RS485, CAN-BUS, and RS232 for battery management system integration.
- For durability, the inverter includes an anti-dust kit for protection against dust accumulation and conformal coating on the PCB to guard against humidity damage. The system achieves 99.9% efficiency and comes with a 5-year warranty.
- Understanding these core specifications helps you configure settings appropriately for your specific power requirements and solar setup.
Physical Installation and Connection Setup
First connecting any wires, remove the terminal cover at the bottom of your Inverex Veyron 3kW unit. This exposes connection points for battery, AC input/output, and solar panels.
Follow this connection sequence to prevent equipment damage:
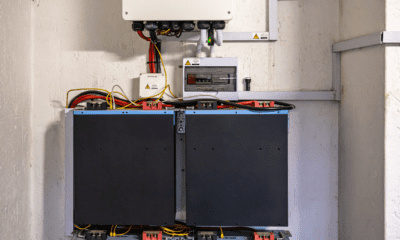
- Battery Connection First: Connect batteries before any other input. For the 24V system, wire two 12V batteries in series, then connect additional pairs in parallel to increase capacity. Use thick cables (4 AWG or 2 AWG) because low voltage means high amperage. Connect positive terminal first, then negative. Expect a loud spark when first touching battery cables to terminals. This happens as capacitors inside fill with electricity. Tighten connections firmly to prevent loosening from vibration.
- PV Connection: Thread through waterproof terminals and crimp metal connectors. Verify polarity matches before inserting PV connectors into ports.
- AC Input/Output Connection: Turn off your main breaker before starting. Match wire colors correctly: Line (black/red), Neutral (white), Ground (green/bare copper). Connect hot wire to a dedicated circuit breaker in your panel. Test each connection by tugging the wire.
Once complete, close battery switch first, then PV switch, and finally AC switches.
To Read more Aritcles this type Click Here
LCD Configuration and Operating Settings
Access your LCD configuration by pressing and holding the button for 3 seconds. The unit enters Setup Mode where you navigate settings using directional buttons.
Start with battery type selection, which determines charging parameters. The system offers AGM (default), Flooded, User-Defined, and LIb-protocol options. Select “LIb” when using Lithium batteries compatible with the protocol, which automatically configures programs 02, 26, 27, and 29 without further manual adjustment. For third-party Lithium batteries, the system similarly auto-configures these programs.
Configure your AC input voltage range next. Selecting “Appliances” sets acceptable input between 90-280VAC, while the alternative option narrows this to 170-280VAC. This setting affects how your solar inverter manual interprets grid fluctuations.
Set maximum utility charging current between 2A and 100A in 10A increments, with 30A as the default value. This parameter controls how much current flows from grid to batteries.
Define charger source priority to determine power hierarchy. “Only Solar” mode uses solar energy exclusively regardless of utility availability. Accordingly, you can enable or disable alarm functions and overload bypass features. When overload bypass activates, the unit transfers to line mode during battery mode overload conditions.
Timer settings allow daily charger source priority scheduling. Navigate display information by pressing directional buttons to cycle through input voltage, frequency, and current readings.
Conclusion
You now have everything you need to configure your Inverex Veyron 3kW inverter correctly. Remember, the installation sequence matters tremendously: batteries first, then solar panels, and finally AC connections.
Take your time with LCD settings, particularly battery type selection, as this determines your system’s charging behavior.
Start with these configurations today, and your solar system will deliver optimal performance for years to come.

-
 Solar Gadgets1 month ago
Crucial Fronus PV5200 Program Settings Explained
-

 Coding Tools1 month ago
Common Errors: “Out of Memory” fix
-

 Coding Tools1 month ago
How to Set Up Continue AI Offline?
-

 Solar Gadgets1 month ago
7 Best Solar Powered Camping Gear 2026
-
 Solar Inverter1 month ago
How to set inverter for 24 hour backup
-
 Solar Gadgets1 month ago
Outdoor Gear Camping